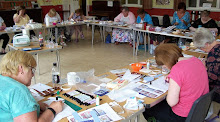
...at our card making day on Saturday here on the Wirral.
So blessed with a fantastic group of ladies and our Helen's wonderful cards, mustn't forget Steve, always on hand with the refreshments. We made lots of cards with new stamps from our latest
Stamp Box and our new
Hatch, Match and Dispatch stamp set and a lovely sticker card too.
In between the scrummy cakes, here's a small selection of what we made:
Such a lovely little Westie stamp which comes with the text too and then our gorgeous Giraffe kraft tag, again it comes with the sentiment 'Much love to YOU' which Helen has used as a background on the tag:
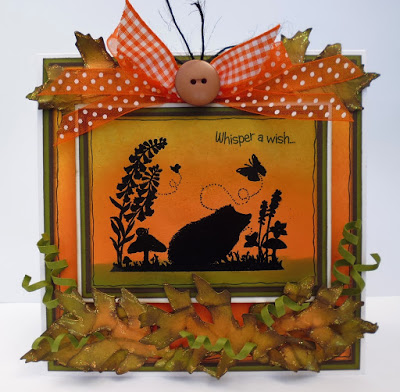
Have to show you this card - this sympathy stamp is from our Hatch, Match and Dispatch stamp set and Helen matched it with papers from our Super Swirlies 1 paper pack, doesn't it go well? Would love to say that I planned it like that lol, but no, a happy coincidence
Our next card making day is
Saturday 05 August and we are devoting a whole day to Christmas card making. We will be using all new Christmas stamps, not yet released - you will see a selection of them on our next HOCHANDA show which is on Friday 07 July at 11am, hope you can watch us.
If you would like to come to one of our days, please see on web
here or email info@mylcdesigns.co.uk or call us: 0151 648 8777 for more info.
Hope you've had a great weekend, Little Claire Team xxx
P.S. We will be at StampMagic, Doncaster Dome this coming Sunday 04 June